Tool Feedback
Tell us what's working, what's broken, and what you wish our free tools did next — it takes about a minute. i
Share Your Feedback
Thanks — your feedback is on its way.
The team behind reads every note. If you left an email, we’ll reply within two business days.

Take a quick assessment to receive a personalized score of your business’s marketing technology stack!
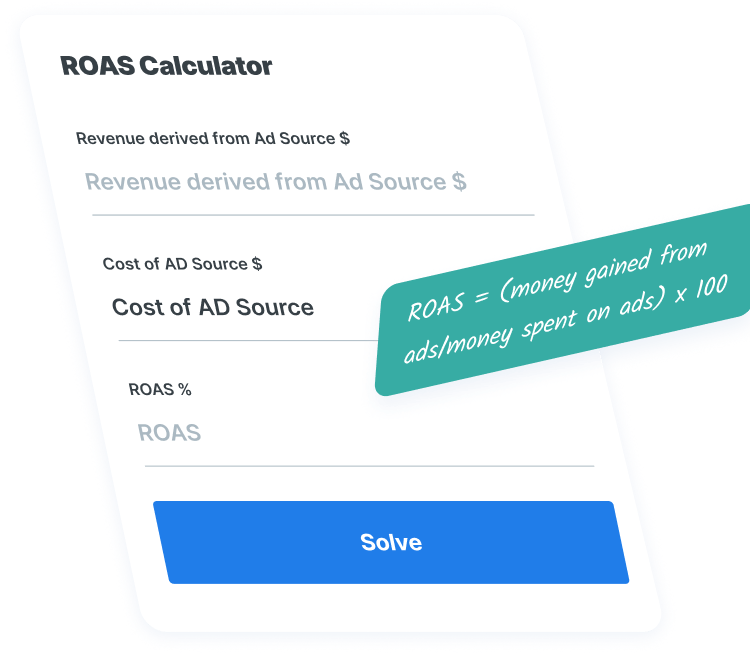
What’s your exact return on ad spend, or ROAS? Our free, instant calculator can help!

CTR, or click-through-rate, is determined by how many times a user clicks on an ad or link and arrives on a designated page. Find your CTR instantly with our calculator!

Want more than a free tool?
Our strategists turn tools like these into full revenue programs. Tell us about your business and get a custom proposal — free.